
Great scenes come in all shapes and sizes and photographers zoom in and out or changes lenses to find just the right composition. Sometimes we find a wonderful scene but soon realize that we can’t make it fit into the frame.
When you face a broad sweeping scene you may want to create a panoramic image by taking several photos and then stitching them together. Some cameras even include such a function but the most common way to do this is by using software on a computer to stitch together several images.
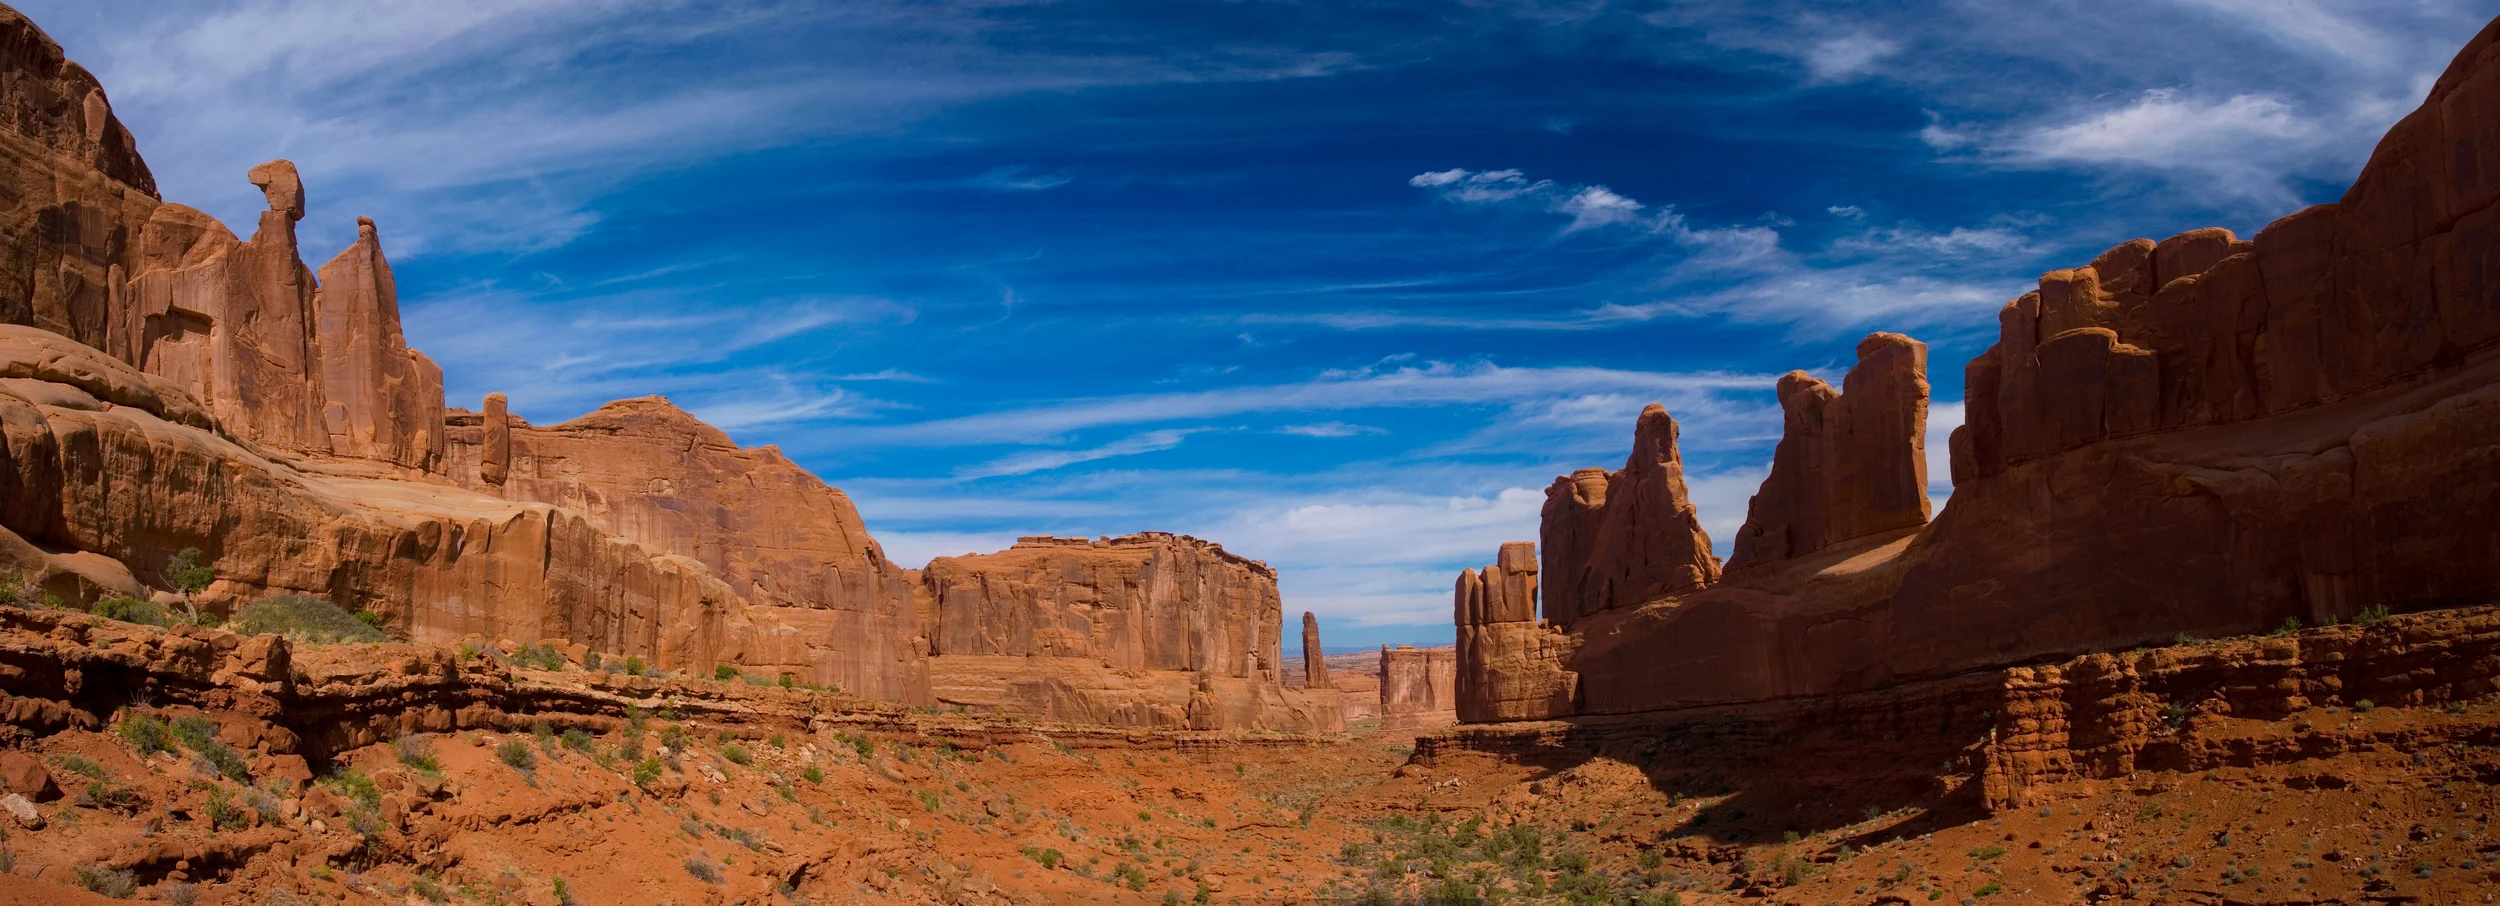
Park Avenue, Arches National Park
Photoshop and Photoshop Elements will stitch together a panoramic as well as a variety of other dedicated software available on both Windows and Mac platforms. Panoramic stitching is also a feature in Canon software that comes with many Canon camera models.
Before you get to the software its important that you capture good images that can be stitched together. Its not hard and you don’t need any special equipment but you do need to make sure all the images will blend well together. To that end consider the following;
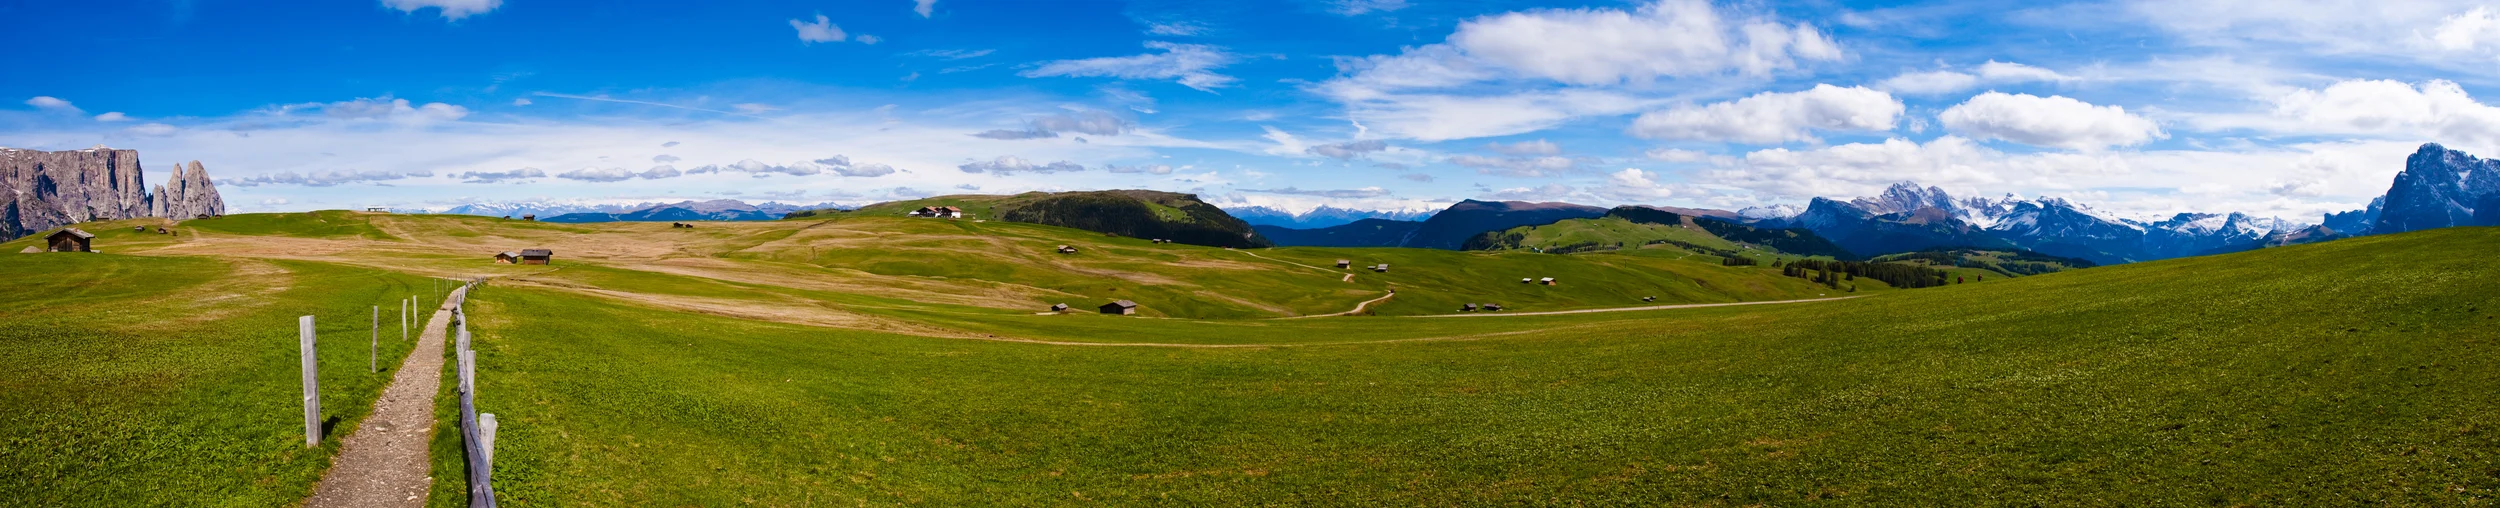
Swiss Countryside
- Set all your camera controls manually including ISO, aperture, shutter speed, white balance and focus. This is very important since it ensures that there is no variation in sharpness, exposure, color or tone from one frame to the next.
- Include extra space on the top and bottom of the frame. Stitching software will put all these images together but the top and bottom will become very ragged and you’ll have to crop quite a bit to get a nice image.
- Shoot all your images from the left to the right. In this way, when they are laid out in your computer they will look like they go together. I like to shoot a photo of my hand pointing to the right as the first frame. That way when I look at hundreds of photos on my computer I know where a panoramic set of images begins.
- You don’t need to use a tripod or any special equipment to stabilize your camera but you do want to make a smooth horizontal transition from frame to frame. Don’t tilt the camera up in one frame and down in another.
- Overlap your images so when you load them into the computer, your program will be able to see and align the same elements in adjacent images. I like to overlap about 50% – when I’m done with one frame, I simply swing the camera around until an element that was on the right edge is now in the middle.
- Finally, if you are going to do any processing on the images before they are stitched, you need to ensure that you do the exact same thing for every frame.
- Finally, when you frame your shots, be sure to add a lot more space on the top and bottom. When you stitch the images together you'll need to crop the edges to give you a rectangular photo.
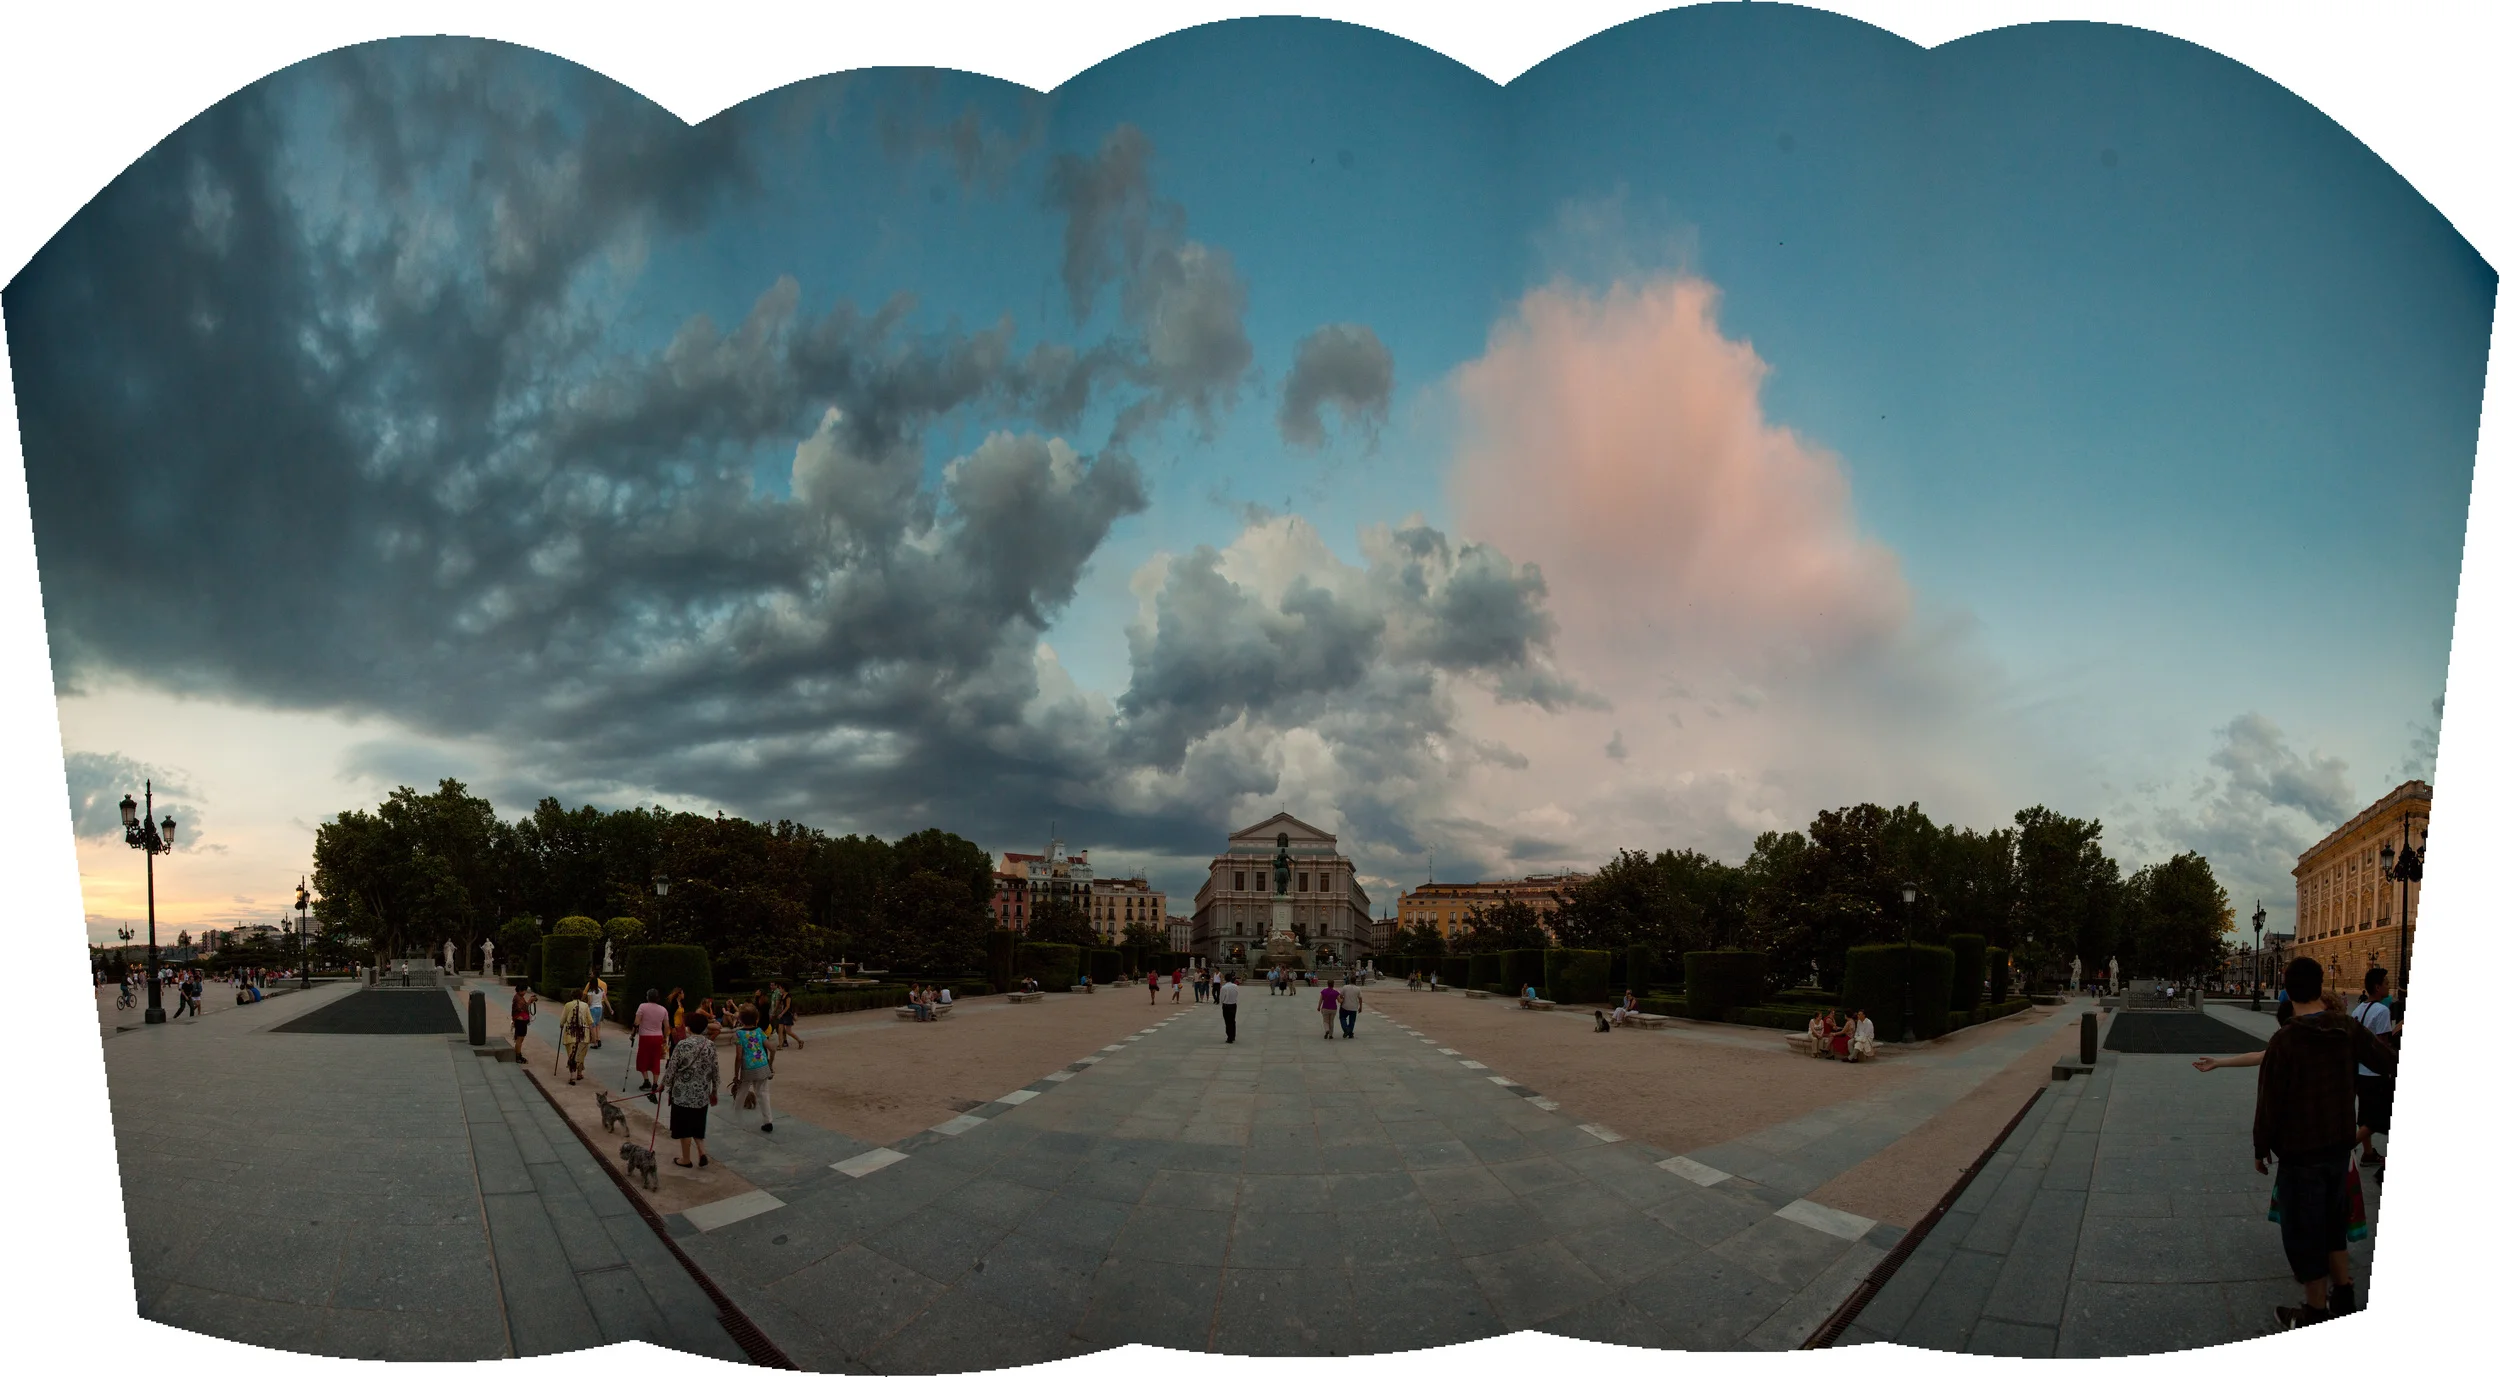
This images has been stitched but not yet cropped. You'll loose much more space on the top and bottom so plan for that in your shots.