

Rob here. One trait that every really great photographer has is that they tend to be wonderful problem solvers. As you walk out and explore the world you realize that the subjects you want to photograph are seldom beautifully lit.
The quality of the light on a subject is described in three elements, intensity or brightness, color, and direction. Sometimes that quality of the light creates a broad range of brightness - you have deep shadows and very bright highlights. The difference between the deepest shadow and the brightest highlight is called the dynamic range.
In a recent trip to Boulder, Colorado, I had a few hours to walk around and explore the area. Boulder Creek runs through the middle of town and is quite pretty in spots. The problem was the deep shadows and bright highlights of the scene but a 3 image stack took care of this nicely. Another nice "final touch" was a cloud brush in Photoshop. It let me add a little bit of interest in an otherwise mundane sky.
What can be confusing is that we often discuss the dynamic range of the light on the subject. The dynamic range that the camera can capture and the dynamic range in the photographic print. Each of these is different.
We like to compare the dynamic range of a digital camera to that of film, and both are often compared to the capabilities of the human eye. The exact values for these comparisons is not clear. In fact, if you want to rile up the web-sphere just post something with definitive values. You’ll see know-it-alls pour out of the woodwork with their “helpful corrections” to your work.
Here is a set of three images shot of Boulder Creek. In post processing, I can use an HDR tool to merge the images together to create one high dynamic range image.
Let’s just agree that the human eye has a pretty broad dynamic range - something in the range of 15 stops. Film types varied quite a bit. [Here I have to mention film - it let’s you know that I’ve got gray hair and have been an active photographer since the stone age.] Slide film had a notoriously narrow dynamic range but, even the broadest negative film didn’t match that of our eyes.
Digital cameras, when they were first introduced, was like shooting slide film from hell. They had a very narrow dynamic range and you really had to nail the exposure. That’s changed over time and today’s digital cameras have a significantly broader dynamic range. But for images straight out of the camera, they still don’t match that of our eyes.
This isn’t a bad thing. Think about it. A piano with all 88 keys covers seven octaves quite a broad range of tones. But it’s estimated that humans can hear over 10 octaves. Even with this limitation composers have written very moving and dynamic scores of music.
But there is something different about cameras and photography. If we are faced with a scene with a broad dynamic range, we can adjust our cameras to move the range we can capture up or down the range in the scene. We can also shoot different images, each one capturing a specific segment of the scenes dynamic range. And then, through the magic of Photoshop or other post processing programs, we can combine these image into one final photograph.
If you’ve been watching the photographic marketplace over the past few years, you’ve probably seen a lot of talk and tools aimed at High Dynamic Range (HDR) photography. As you know, we like great tools to help in our workflow and here are some that may fit your needs.
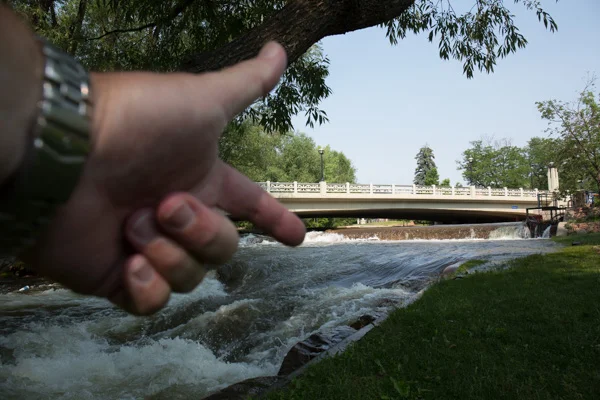
TIP: When shooting a set of images to be merged in post - for HDR or to create panoramic images - you start the set by shooting your hand. That way, when you view them in light table or grid view, you'll easily see which images you intended to call out for special processing.
Photoshop and Lightroom. Adobe has built in HDR merge functions into both Photoshop and Lightroom. It’s worth a look. Also, take a look around for tips and instructions for using the HDR merge. You’ll find some helpful resources. Especially check out any of the videos or blog entries from our friend Julianne Kost either on the Adobe website or her own site. She’s just plain awesome.
Are you a mac user? If so, check out Aurora HDR. It’s a mac only solution developed by our good friends at Macphun software. Kevin LaRue and his team have created some awesome products. We'll be talking about several Macphun products in upcoming blog posts.
For Windows or Mac, check out the Nik Collection HDR Efex Pro. This is one module in the Nik Collection by Google. Take a look at www.Google.com/nikcollection for more information. And guess what? It’s free.
This is one I’ve not used but have heard good things about. Check out a product called Photomatix. You can find it at www.hdrsoft.com. A license cost $99 but I’ll tell you, that’s a small price to pay for a tool that works and is helpful in your workflow. They have a trial version so what do you have to loose?