This weekend I was photographing a few hundred kids as they were Confirmed into the church. This is a major milestone for these kids - one of those life events that can never be repeated. So, capturing great images is very important.
With all the kids, the bishop, priests, deacons, etc. the altar area was quite crowded. To ensure that we could capture the best possible images of each child, I worked with a second photographer.
I like to have the date and time correct/matching on the cameras but in this case, we ended up using a backup camera and the time was not set correctly. This can create problems during post processing when I’m trying to find the same child in images shot with both cameras.
There is an incredibly easy solution to this and it’s something that you may need to use in the future. Here’s what I did to fix my problem.
Determine the Correct Time
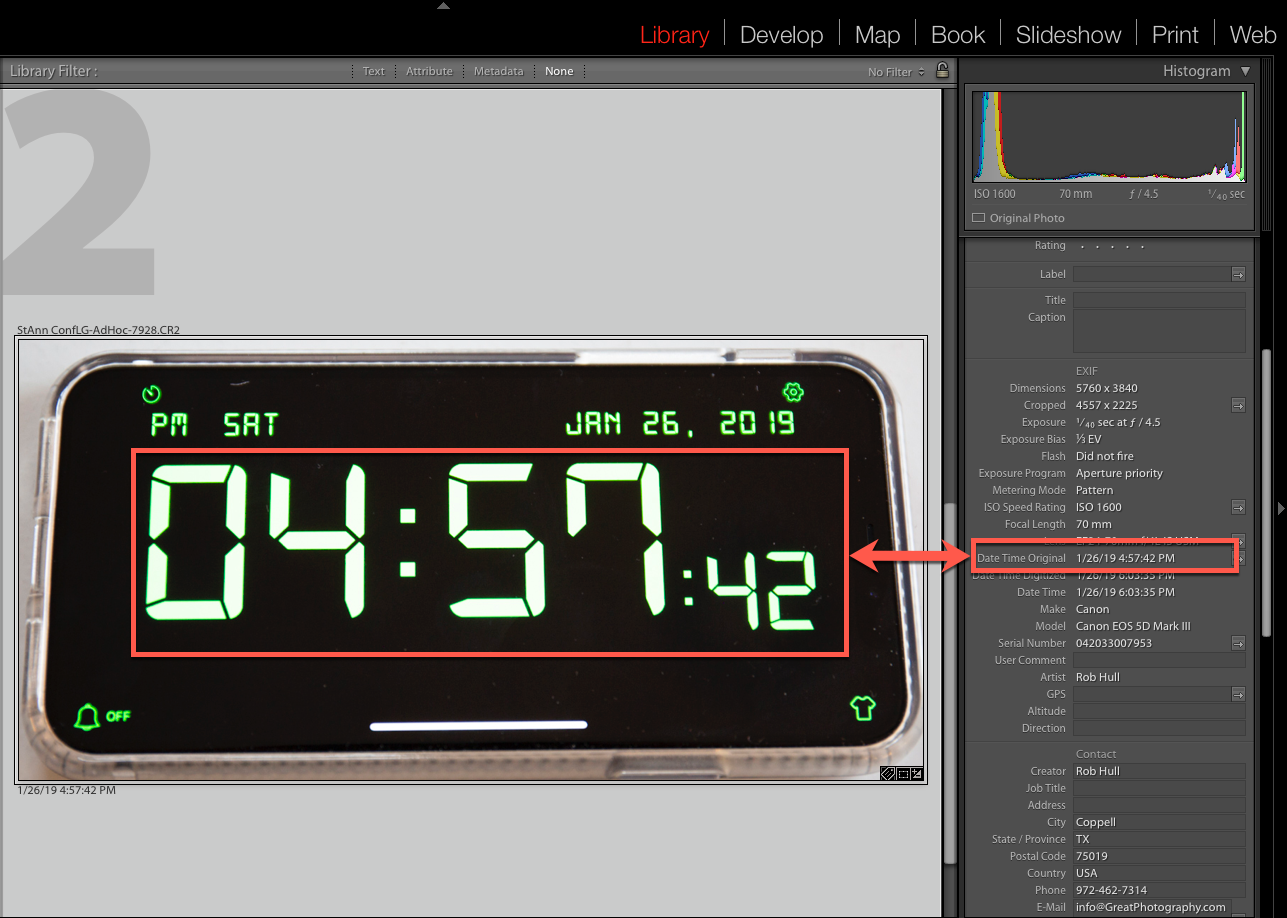
Knowing that the metadata time was not correct on one of the cameras, I just needed one image that would show me the correct time. So, I took a photo of my iPhone while it displayed the correct date and time. In this case, I really needed it synced to the second, so I have an app called Digital Clock by Junjie Ruan. (There are a lot of similar apps out there – I just wanted to ensure I can sync to the second and this one works fine.)
Using a photo of the correct time, you can adjust the capture date and time metadata to the correct time.
Find All Images Shot With One Camera
The next step is done after you’ve imported all your images into Lightroom. We have to be careful that we only change the time on images shot with a single camera. Now, in my case I’ve organized images by Date, Mass Time, Subject (i.e. ceremony, adhoc images of the mass, readers etc.). Within this organization are mixed images from both cameras so I first need to filter out only the images from a single camera.
To filter images from a single camera, select the highest-level folder that will include all the images shot at the event with the camera. For example, in my case, I selected the folder “Confirmation January 2019”. Even though I have images from this camera in many folders such as Noon Mass, Left Line, etc., the high-level folder includes them all.
Then, from the filter bar at the top of the grid view, select Metadata. Select one of the filter columns and change the criteria to “Camera Serial Number”. You should now see a list of camera serial numbers that were used for the selected images. In my case, two cameras are on the list. I click on the serial number for the camera that included the incorrect date. When you do this, the images that are now displayed in the grid view will all be from the same camera.
Change The Metadata Time
Look through the grid view to find the image that you shot of your cell phone that displays the correct time. Once that image is selected, you can now select all of the images with Command + A. Remember, Lightroom can select many images but only one is the primary selection – that’s the photo of the time on the phone.
Go to Metadata > Edit Capture Time
In Type of Adjustment, select Adjust to a Specified Date and Time
In the New Time group, enter the time displayed on your cell phone image into the Corrected Time field.
Then click on Change.
When you do this, Lightroom changes the capture time for the image to the time that is displayed on the clock image. It also changes the time on all other selected images by the same relative amount. Even though the option says “Adjust to a Specified Date and Time”, that is only for the primary image while all others are adjusted relative to that image.
The Results
After correcting the Time & Date, you can match images from the same moment in time from multiple cameras.
By using this method to adjust the time in your images, you can sync images from multiple cameras at an event to within one second. This is great for anyone using multiple camera on a vacation, or multiple photographers working the same event.
The key here is that we’ve captured an accurate time stamp image with every camera used in an event. Next week, we’ll discuss what to do if you were not able to get an accurate time stamp image.


