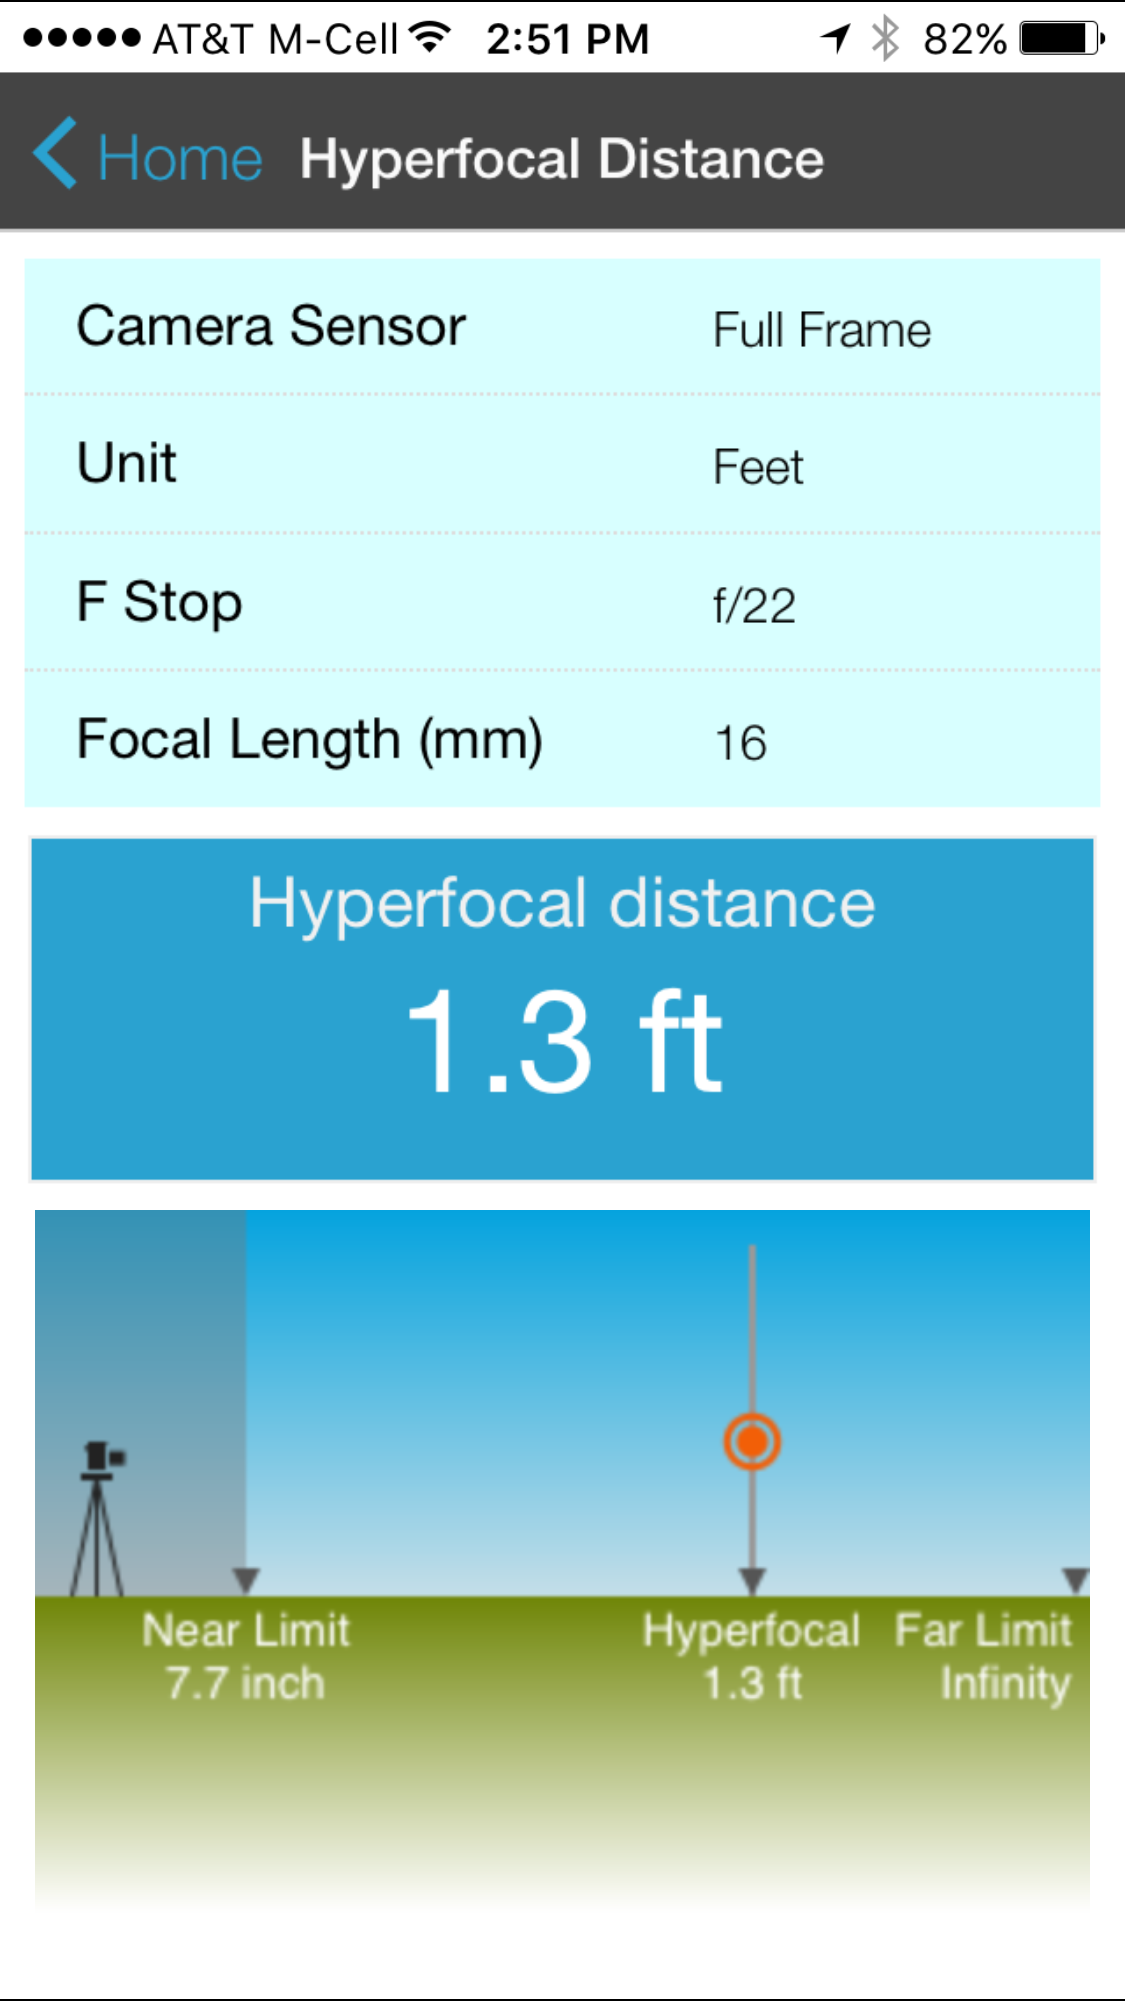
We know that the hyperfocal distance will help us achieve the maximum depth of field possible with any given lens. So, for the widest angle of view and the smallest aperture, we want to focus on the hyperfocal distance. But how do we do that? This week I present you with a very low-tech for yet effective solution.
Calculating Hyperfocal Distance
There are no markings on your lens nor settings in your camera to indicate the hyperfocal distance. This is something best determined before you head out to shoot. Older film camera lenses often had a window on the lens that gave a general indication of depth of field, but remember, digital cameras don’t have a consistent sensor size and the depth of field calculation changes depending upon the size of the sensor.
Depth
Photographers have a handicap. Think about it. We live on, and photograph, this wonderful spinning blue ball called Earth. Our subjects are dynamic three-dimensional objects - some real close to our cameras and others far away. Yet the end result of our endeavors is usually a flat two-dimensional piece of artwork. We loose that third dimension we called depth.
Point of View
If you move from one place to another, things will look different. Two people standing at different places and looking at the same thing will also see things differently. This is perfectly understandable. What’s amazing to me is that two people standing in the same spot can see things so differently.
The Ever-changing Weather, Canadian Rockies Workshop
Practice, Practice, Practice
Faded Memories
When Do You Choose to Convert to Black and White?
All photographers share thinking as to how we work, edit, compose our images, even camera technique from time to time. One of the other things we all share is the internal battle we often have as to when we convert to black and white and when we leave an image in color. Of course this is usually subject specific. But at times a black and white can simply make an image come to life.
Think Outside the Box
The Latest and Greatest
So, Are YOU On the Edge of Turning Professional?
First, determine why you are going pro. Statistics show there is still a significant percentage of new business owners that just don't make it much past their first year. So, prepare yourself and understand one very large and important element; YOU CANNOT DO THIS ALONE. I know you may want to, but trust me, the support, education, knowledge and troubleshooting of others either currently in the same position or having gone through it are invaluable to the new photographer. Local and regional photographic groups and associations or Professional Photographers are vital to your success.
Slow Down & Look Around
The Simplicity of a Little Control
Types of Light Meters
When we talk about light, remember that there are three aspects of light that define the overall quality. Today we focus on only one facet of light and that is brightness. This is the first facet of light that any photographer learns to deal with. It is the brightness of the light that drives our exposure settings so let's look closer at how we measure the brightness of light.
Dragging The Shutter
One of the techniques we covered was a creative strategy that involves “dragging” the shutter when taking a flash exposure. Dragging the shutter is really just a fancy term for using a long shutter speed and it’s generally a technique used in location lighting and not the studio. But we’re creative and there is not right way or wrong way here so let’s get started.
The World of PRE-touching Your Images
Consider the image in which there is an exposure issue. Of course with today's high res RAW files we can correct enormous changes in exposure with controls available in post-production. But the habit of doing so and the time invested are two of the main reasons to make the correction at the time of capture. For each image you open in Photoshop to edit, you'll double or triple the time IF you have to continually make global adjustments for the exposure or color balance.
Getting The Color Right: Using ICC Color Profiles
Measuring Light & Those Pesky Reflections
18% Gray - The Middle Value
By definition 18% gray is the “mid-point between black and white on a logarithmic or exponential curve.” Think of it this way; it is simply halfway between black and white. It is the average in terms of scene brightness and has for many years been the one constant thing that photographers use on which to base their exposures on.
Geo Tagging - Is It Worth It?
How often have you sorted through a batch of photographs only to wonder where a particular image was shot? We’ve all done this. Some have tried to keep detailed travel journals - that certainly helps. For others, the location information is simply lost over time. I can’t tell you how many photos I’ve found that illustrate our family history but there is no information about where the image was captures - let alone any other identifying information. Location information adds a great deal to the story of any image. Learn how to add it to your image files and organize it in Lighroom.


